Textual Inversion and How to Train Your Own Embeddings using Stable Diffusion
Textual Inversion allows you to train a tiny part of the neural network on your own pictures, and use results when generating new ones. In this context, embedding is the name of the tiny bit of the neural network you trained. – Source: Automatic1111 Textual Inversion Wiki page
In this tutorial we’ll be using the Automatic1111 Web UI to train an embedding for Stable Diffusion. If you encounter problems, reference the source link above for troubleshotting. We will create a simple embedding from 25 images. The more images you use, the better results you will get.
What about copyright issues? I’m not worried about it, because this process does not copy and paste anything from the source material. The training scans the images for features / characteristics and learns from that. You can’t really copyright a medium or style, like watercolor or charcoal art. Embeddings are like a style or filter that is applied on top of the model. You can use them with txt2img or img2img and they will look nothing like the original source.
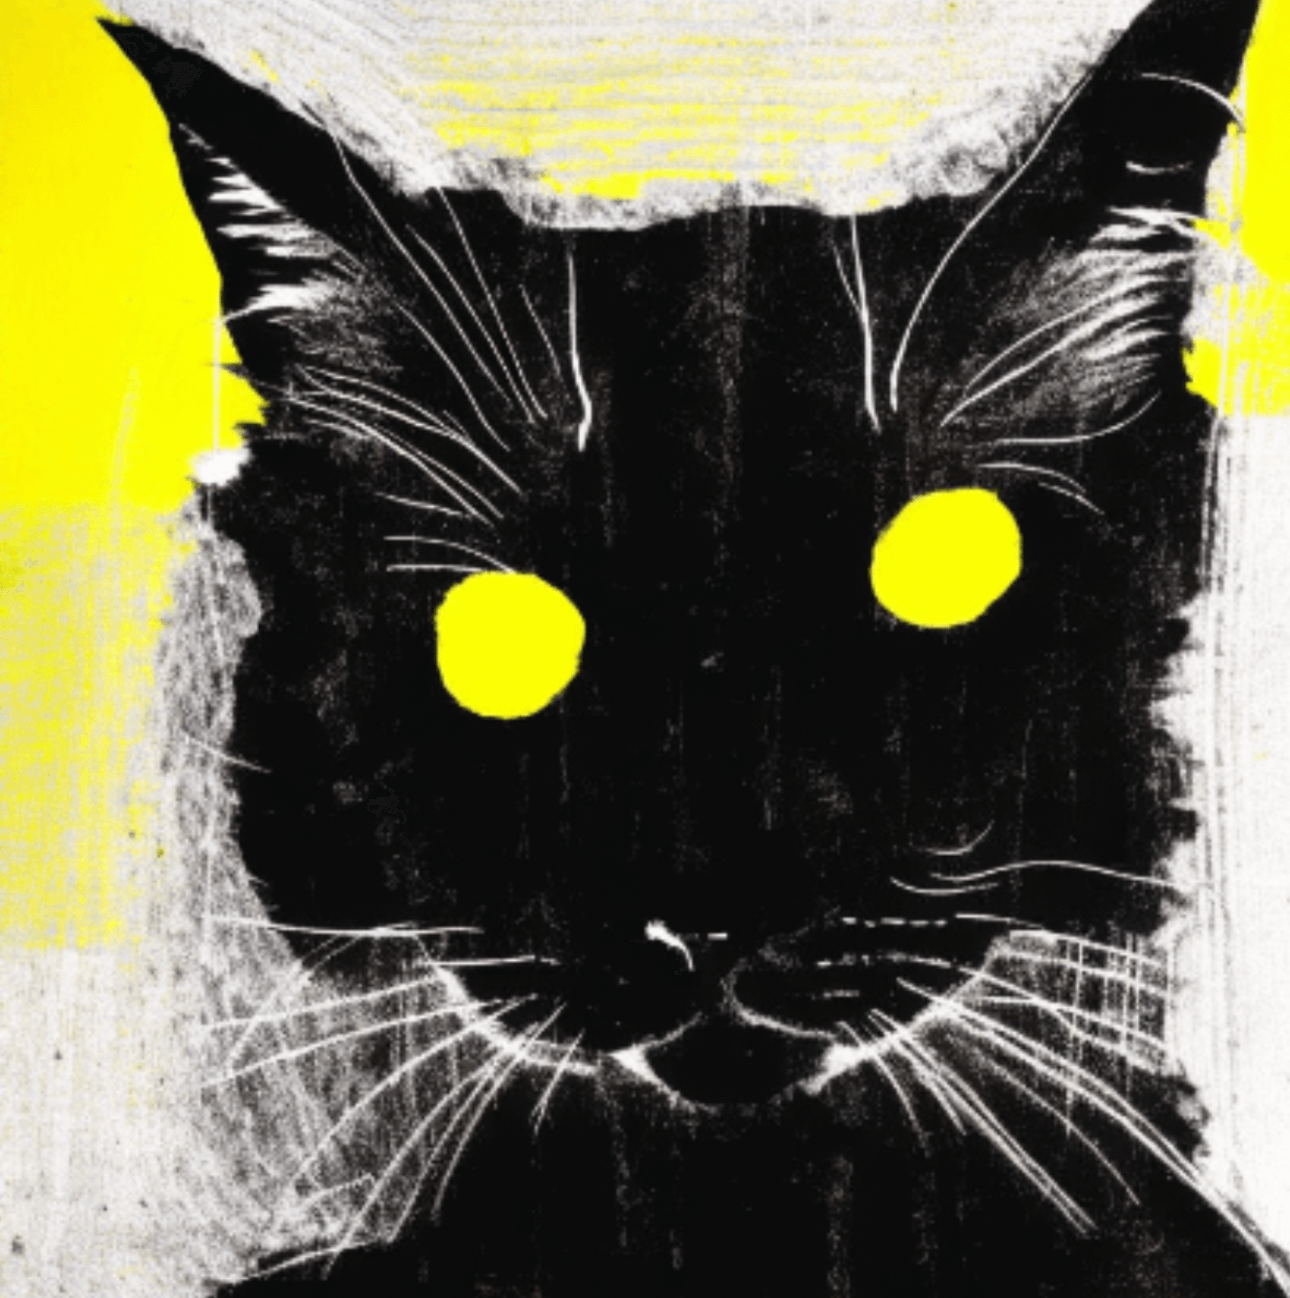
Here’s an example embedding where I didn’t use anyone’s artwork. I used 25
images of grungy textures and scratches and trained them on the v2-1_512_noema-prunted.ckpt model which knows what a cat is.
The text prompt for the following image was simply cat art by grunge with grunge being what I named the embedding.
Cool, let’s begin!
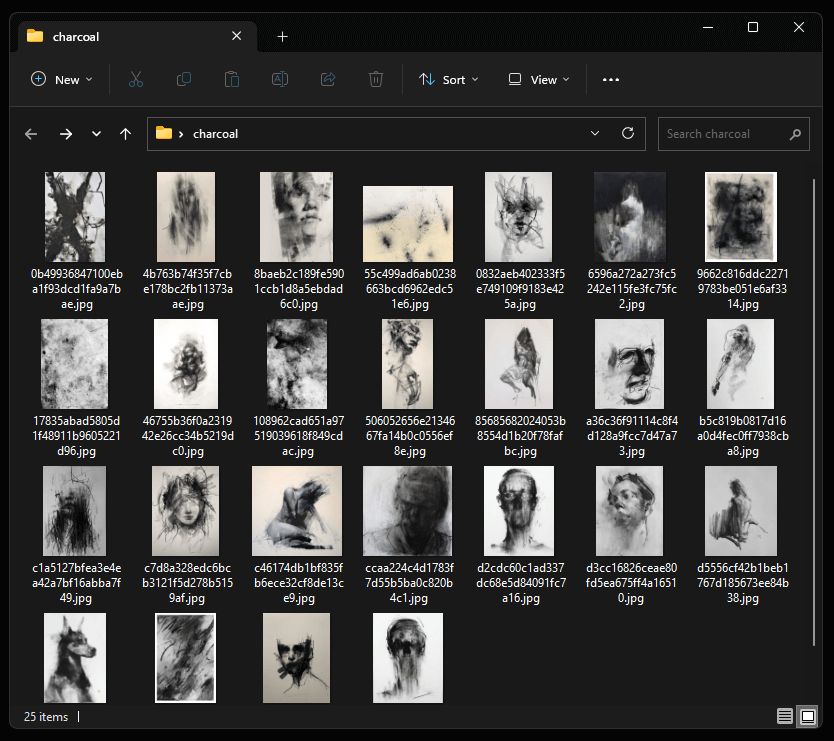
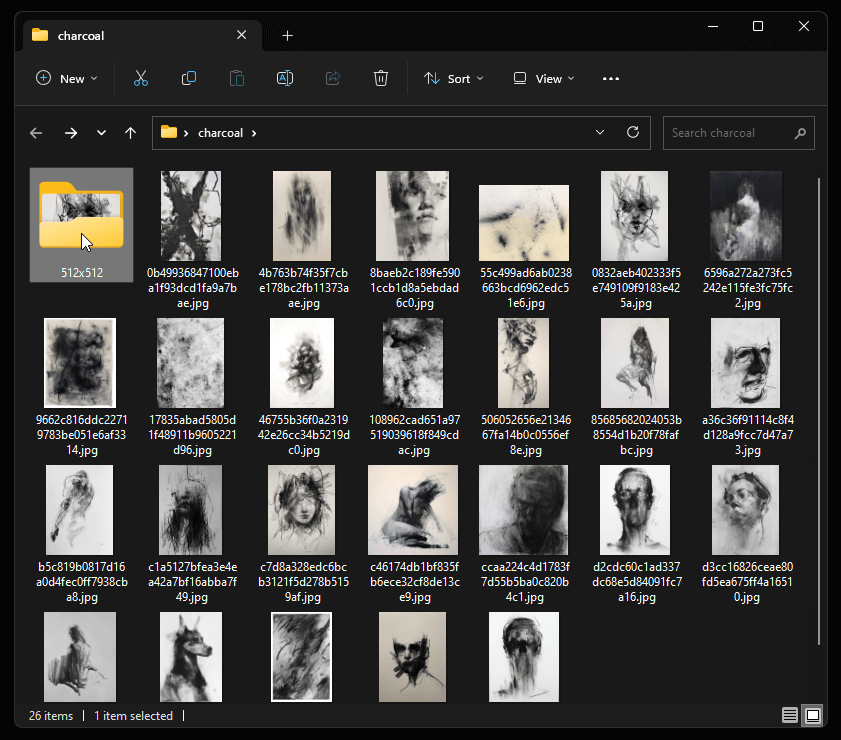
Step 1: Create a folder and add your images.
For this example, I went to pinterest and saved 25 random images of charcoal drawings and textures. Embeddings work better when the style of every image is similar.
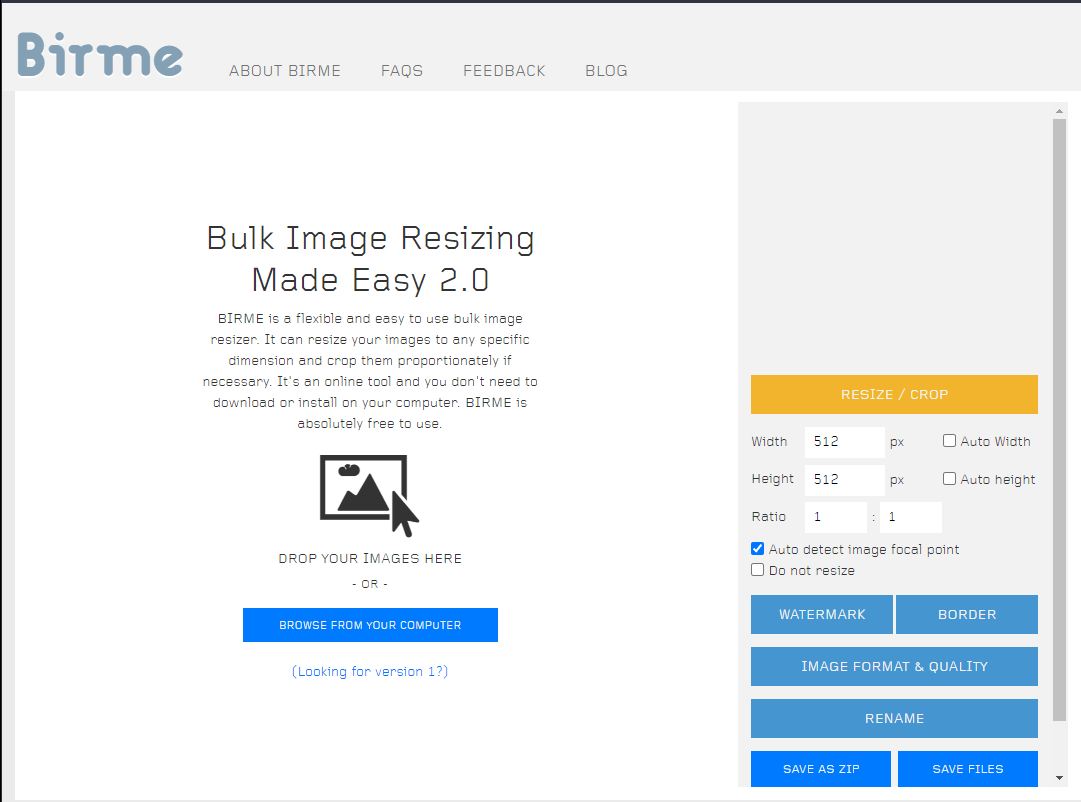
Step 2: Use Birme to crop and scale all your images
Bulk Image Resizing Made Easy (Birme) is a tool that allows you to do just that. The images have to be the same size you set in the training process or it may crash / give you bad results.
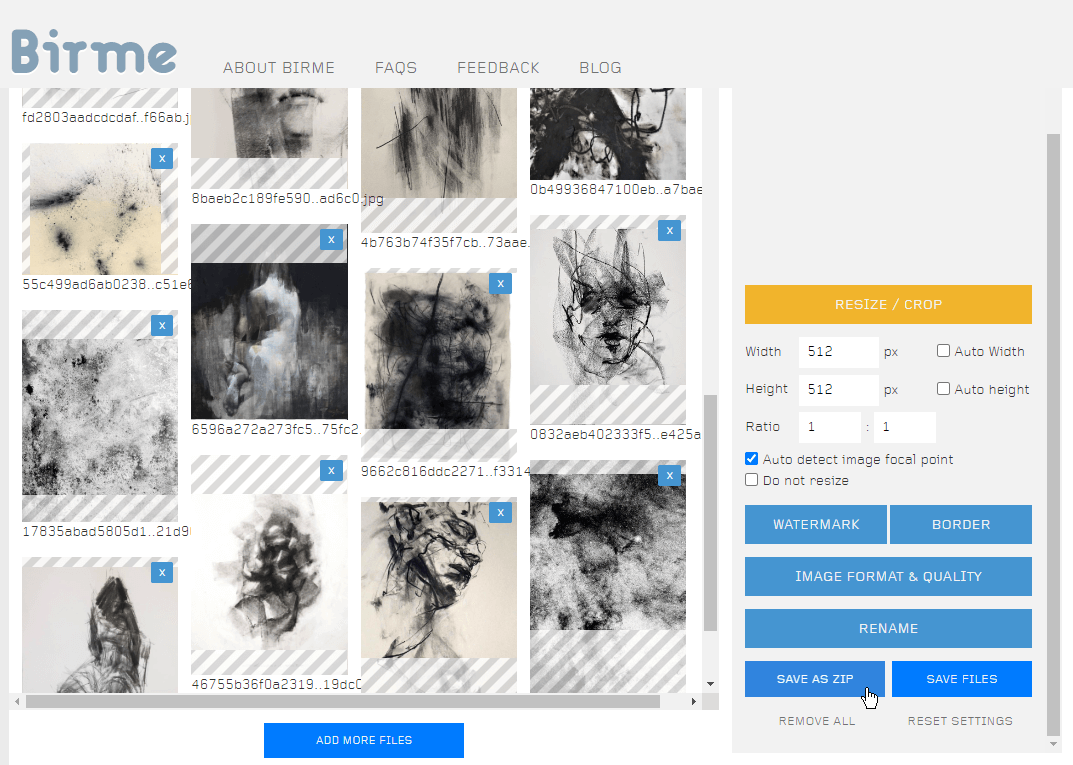
Go through each image and adjust the crops, then “Save as zip” when you are done. Extract the files into a new folder (512x512) inside of the folder where you saved the original images.
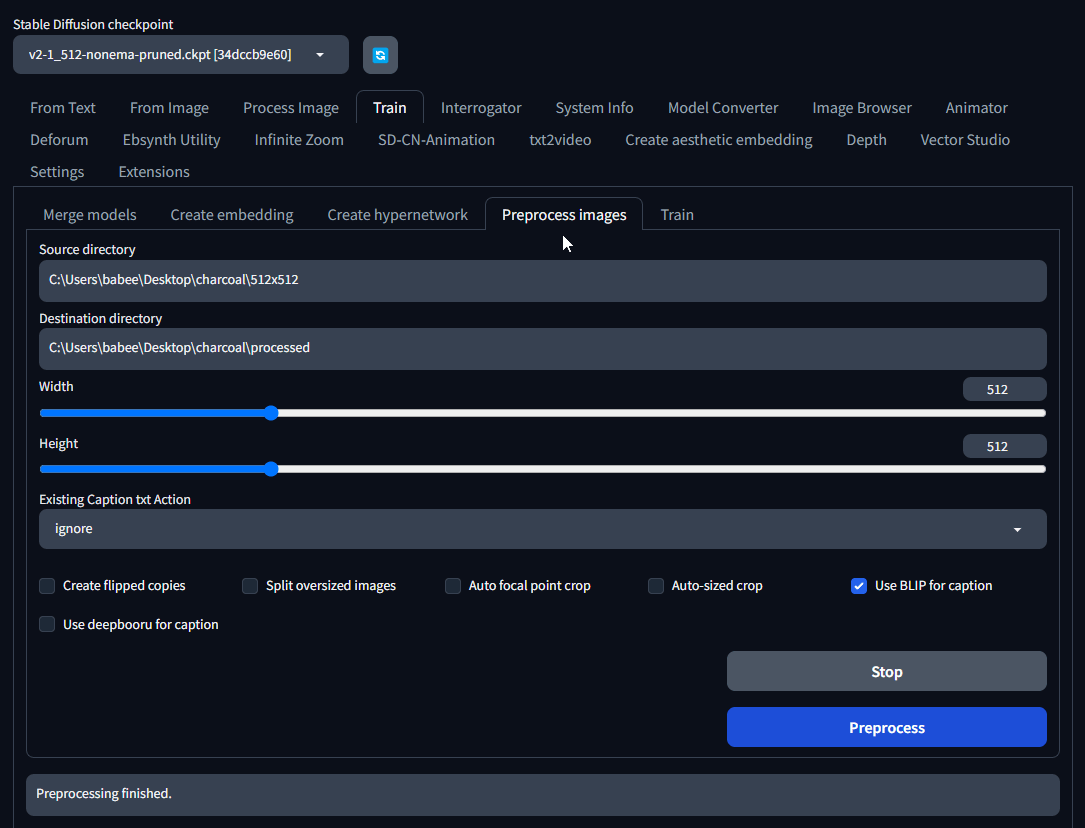
Step 3: Preprocess images
In Automatic1111 Web UI, go to the “Train” tab and click on “Preprocess images”.
Copy the path to your source directory, i.e.
C:\Users\babee\Desktop\charcoal\512x512.
Make another folder inside of the charcoal folder for the “Destination
directory”. I call it processed.
Check “Use BLIP for captions”, which will create a text file for each image describing the image. You don’t have to use this option, but you may get better results if you do when using text prompts with the embedding. You can also edit them if you want to describe each image in better detail.
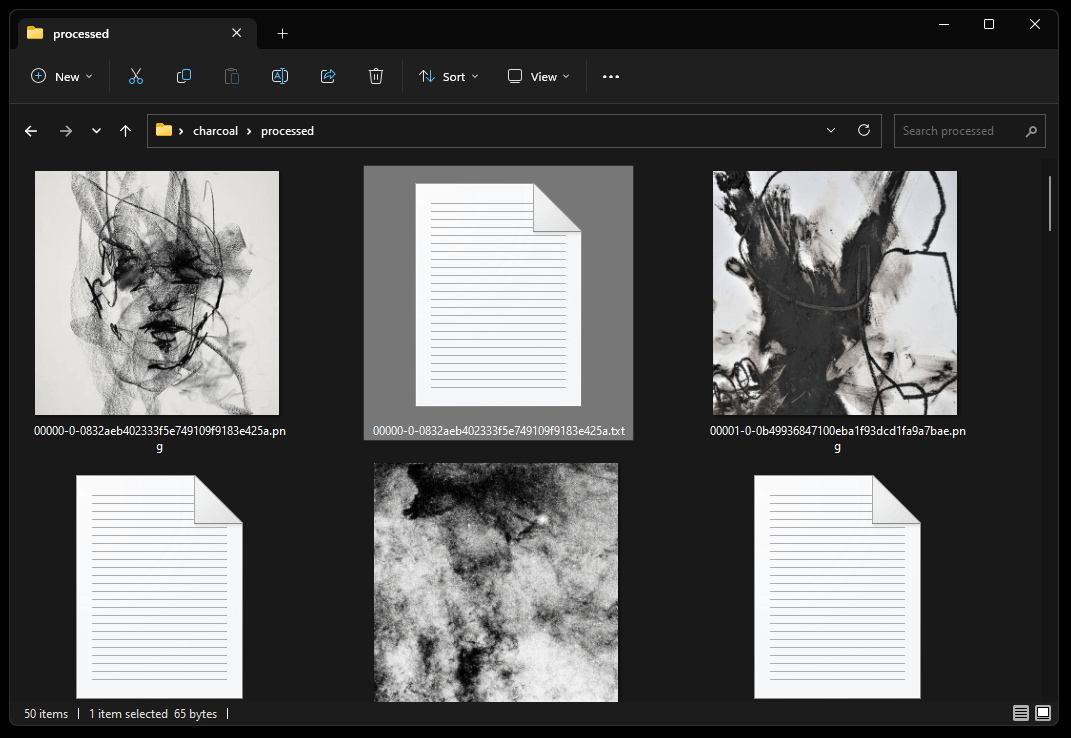
Once preprocessing is finished, you will see all the images (and a text file for each one) inside of the processed folder.
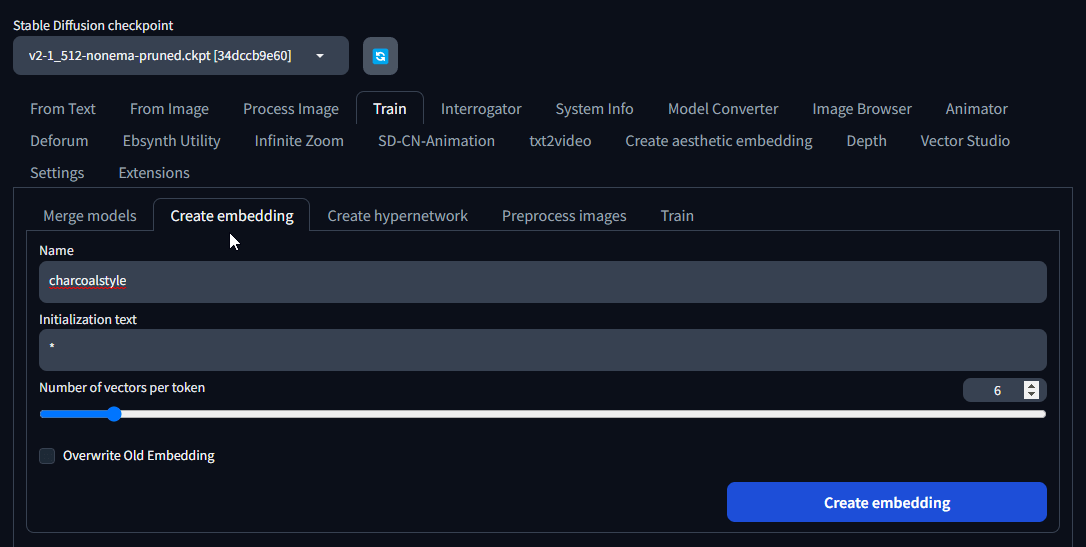
Step 4: Create Embedding
Now click on the “Train” tab and then “Create embedding” and give your embedding
a name. For this example, I’m calling it charcoalstyle. This is the trigger word you will use when applying it to your text prompts.
The number of vectors per token number is based on how many images you are using to train the embedding. 2-3 is a good number for up to 10 images, since we have 25 we should try a number like 5 or 6. I experienced less issues using the base 512 model (1.5 or v2-1_512-nonema-prunted.ckpt).
Now click on the “Create embedding” button.
Now you will want to restart Automatic1111 Web UI (webui-user.bat). Then go back
to the “Train” tab and select the “Training” sub-tab. You will see a dropdown
menu on the top left where you select the embedding you just created -
charcoalstyle.
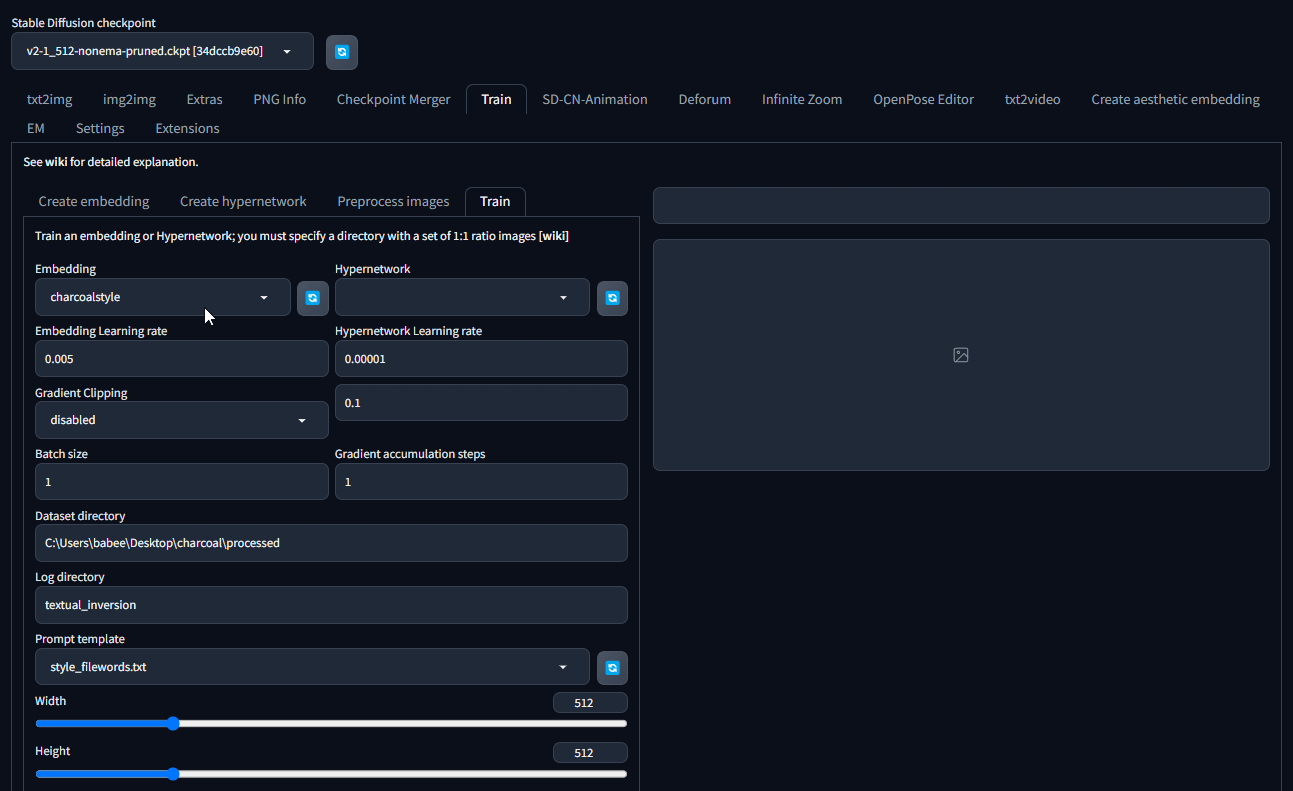
Step 5: Start Training
There are a lot of options here that are a bit tricky to get right and can cause memory issues, so I’m not going to change most of the values. If you want more details on what they do, check out the video from Aitrenpreneur.
The dataset directory should be the path where the processed images are:
C:\Users\babee\Desktop\charcoal\processed
Make sure the width and height sizes are the same as the processed images: 512x512
There are a few more options below to change.
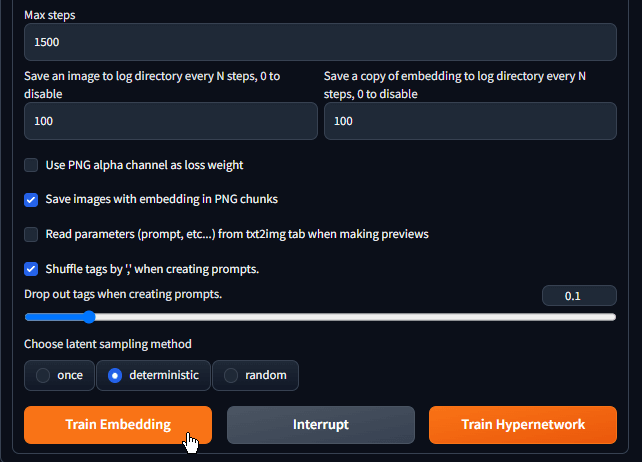
- “Max Steps”: Since we are using a low amount of images, it’s best to use a lower number. I use 1500 or less.
- Set both “Save an image to log directory every N steps, 0 to disable” and “Save a copy of embedding to log directory every N steps, 0 to disable” to something like 50 or 100. This gives you multiple embeddings with lower to higher intensity to try out.
- Select “Shuffle tags by ‘,’ when creating prompts.”
- Change the value to
0.1for “Drop out tags when creating prompts” - Finally check “deterministic” and click on Train Embedding.
Once it’s complete, you should see the new embeddings located here
stable-diffusion-webui\textual_inversion\2023-06-05\charcoalstyle and will
need to copy them into the embeddings folder located in
stable-diffusion-webui\embeddings.
Step 6: Check out the result.
Go to the “txt2img” tab and generate an image using your new embedding. Type
your prompt and add the name of the embedding, for example: charcoalstyle-200
or charcoalstyle-500.
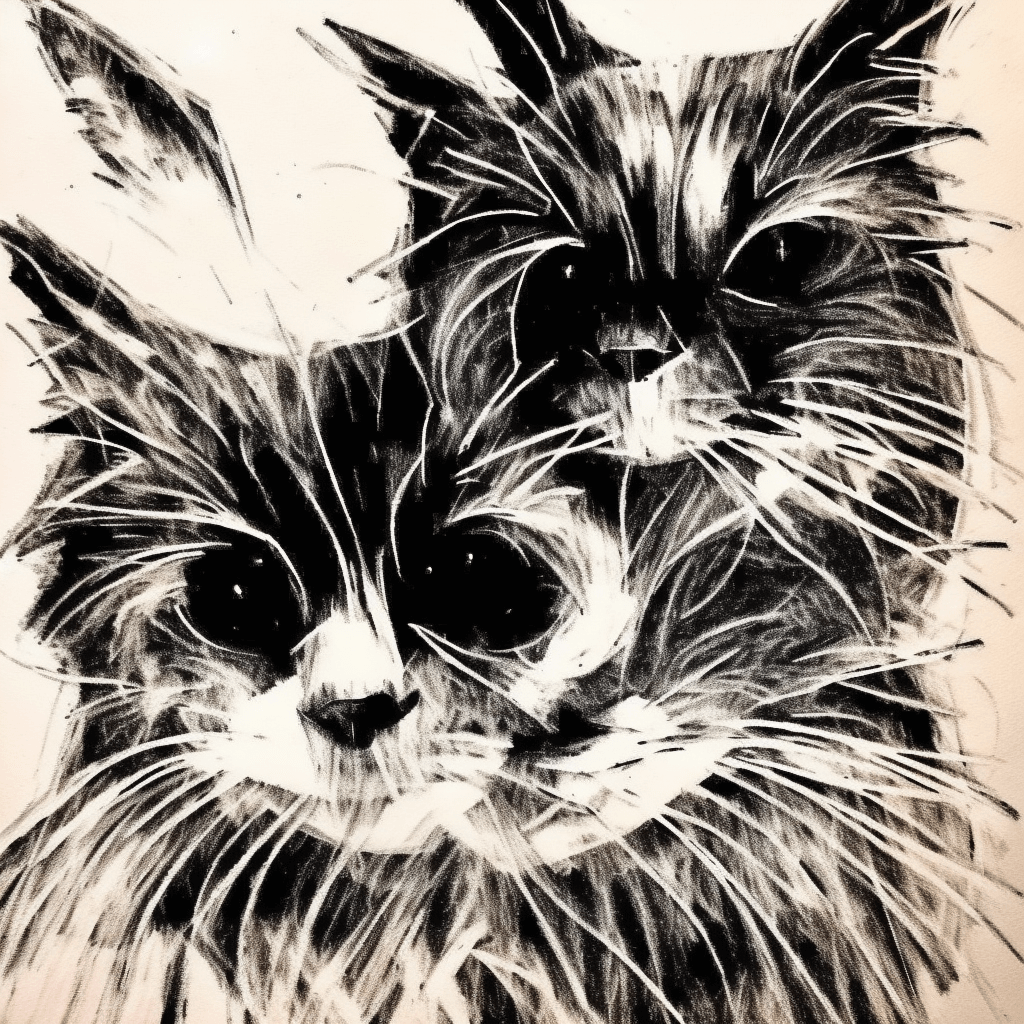
drawing of a cat, charcoalstyle-200
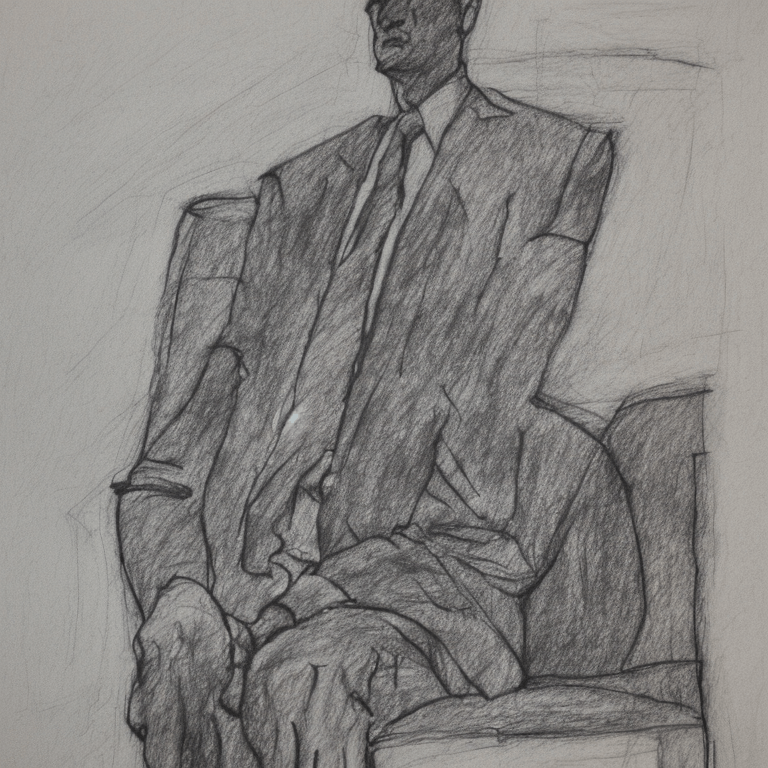
charcoal drawing of a businessman sitting in a chair, charcoalstyle-100
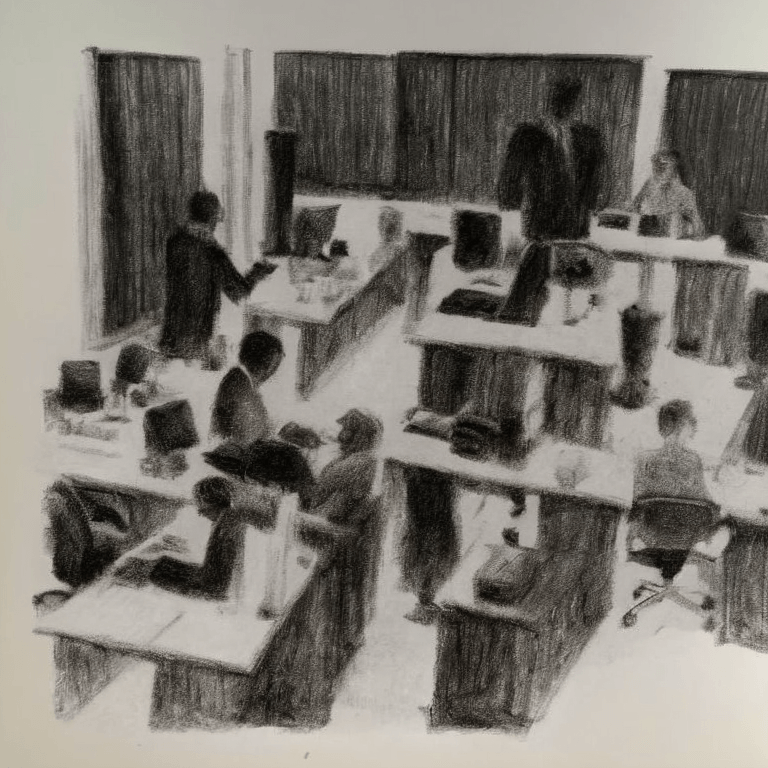
charcoal drawing of a business at the office, charcoalstyle-500
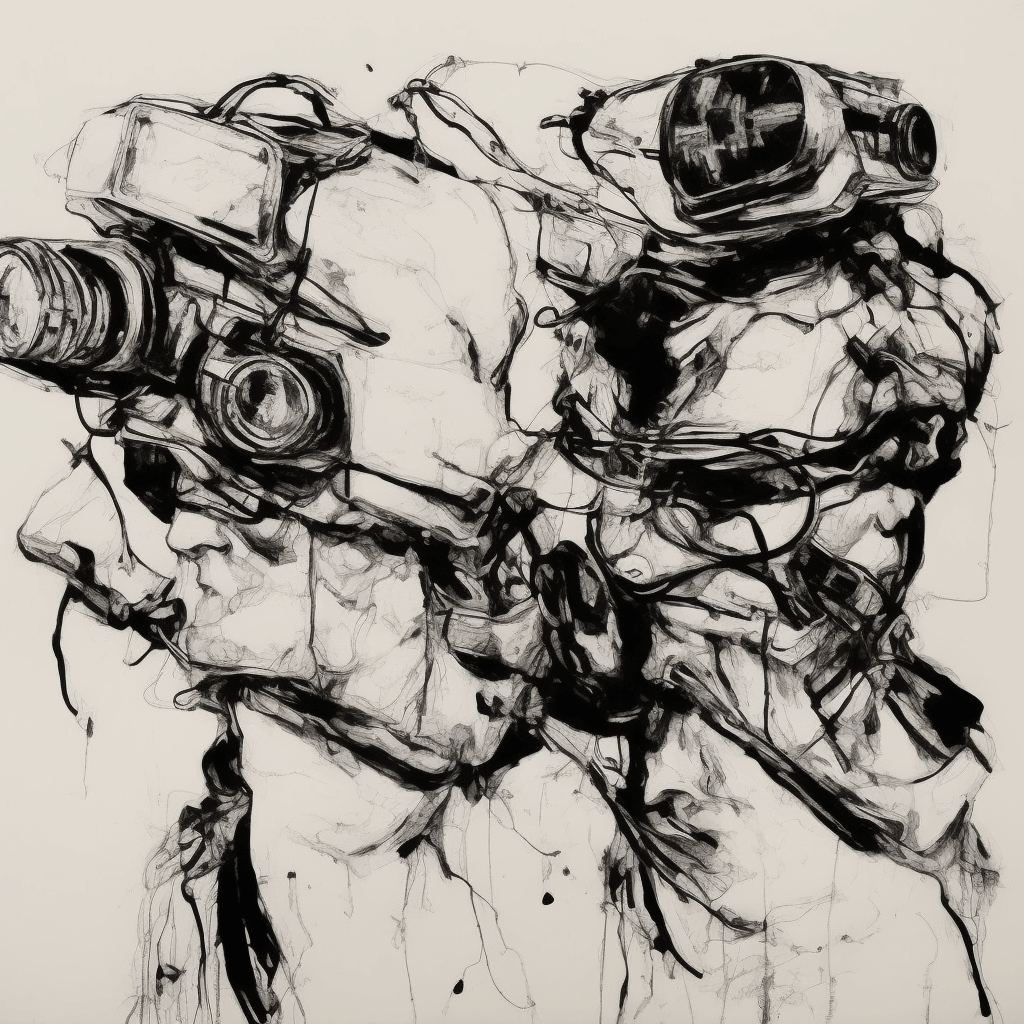
abstract drawing, charcoalstyle-10
@spiritform, creative, art director, motion designer, synthographer, image sorter (getbase.app), process junkie, freethinker 🇺🇸